I’d like to share these spectacular images of our Sun, taken by Prasad Agrahar with his home-made spectroheliograph.
His first image is at H-alpha (656 nm), second is at H-beta (486 nm), and the third is at Helium D3 (585 nm).
With this device, IIUC, he can make an image at just about any wavelength that makes it through the front lens of the optics. He posted this to the NCA email list.
DIY!!
Guy Brandenburg
Prasad wrote:
Here are three images of our Sun, taken on Thursday morning with my DIY spectroheliograph. The weather was quite windy, and the seeing was poor.
The above is H-alpha with [sunspot groups] AR 4294 and 4296 dazzling.
This is H-beta
And finally,
The above image is (…) Helium-D3, the emission line at 5875A.
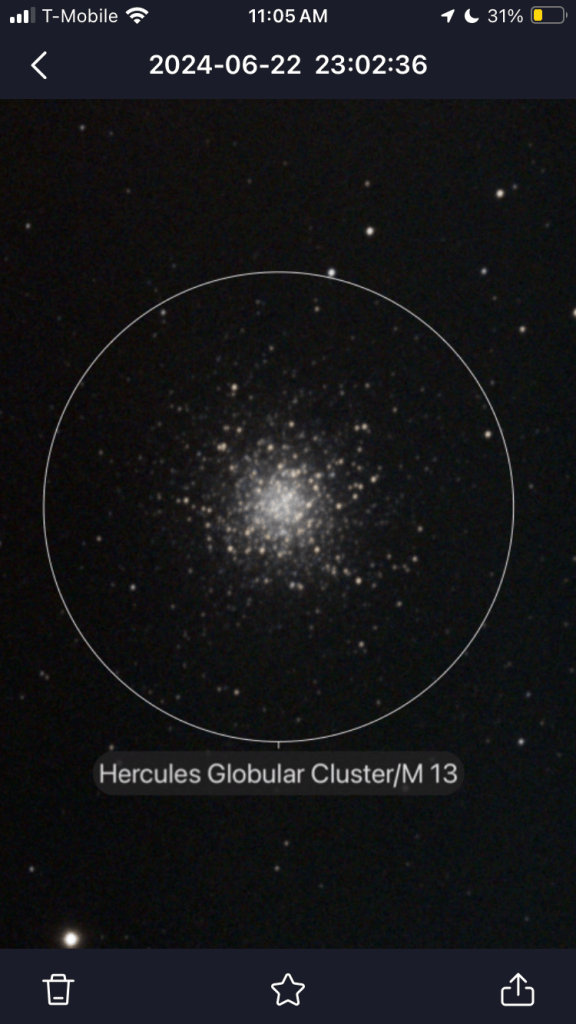
Look what this little thing can do that I’ve always failed at myself, even with an entire observatory at my disposal: take decent astrophotos.
Here it is on a home made tripod, taking photos of the sun. Notice the reflective solar filter. Here are two images:
The device woke up, and after less than a minute of self’s-calibration, it pointed very accurately at the sun and focused itself perfectly. It produces a continuous feed; I even did 100 frames of a time-lapse. It’s all stored on my cell phone but I can share the photos or even live views with folks nearby.
And from night time spots here in DC and NOVA:
This can take tolerable astrophotos even when surrounded by streetlights!
The Hopewell Observatory had available a finely-machined antique, brass-tube 6″ f./14 achromatic refractor.
The mount and drive were apparently made by John Brashear, but we don’t know for sure who made the tube, lens, focuser or optics.
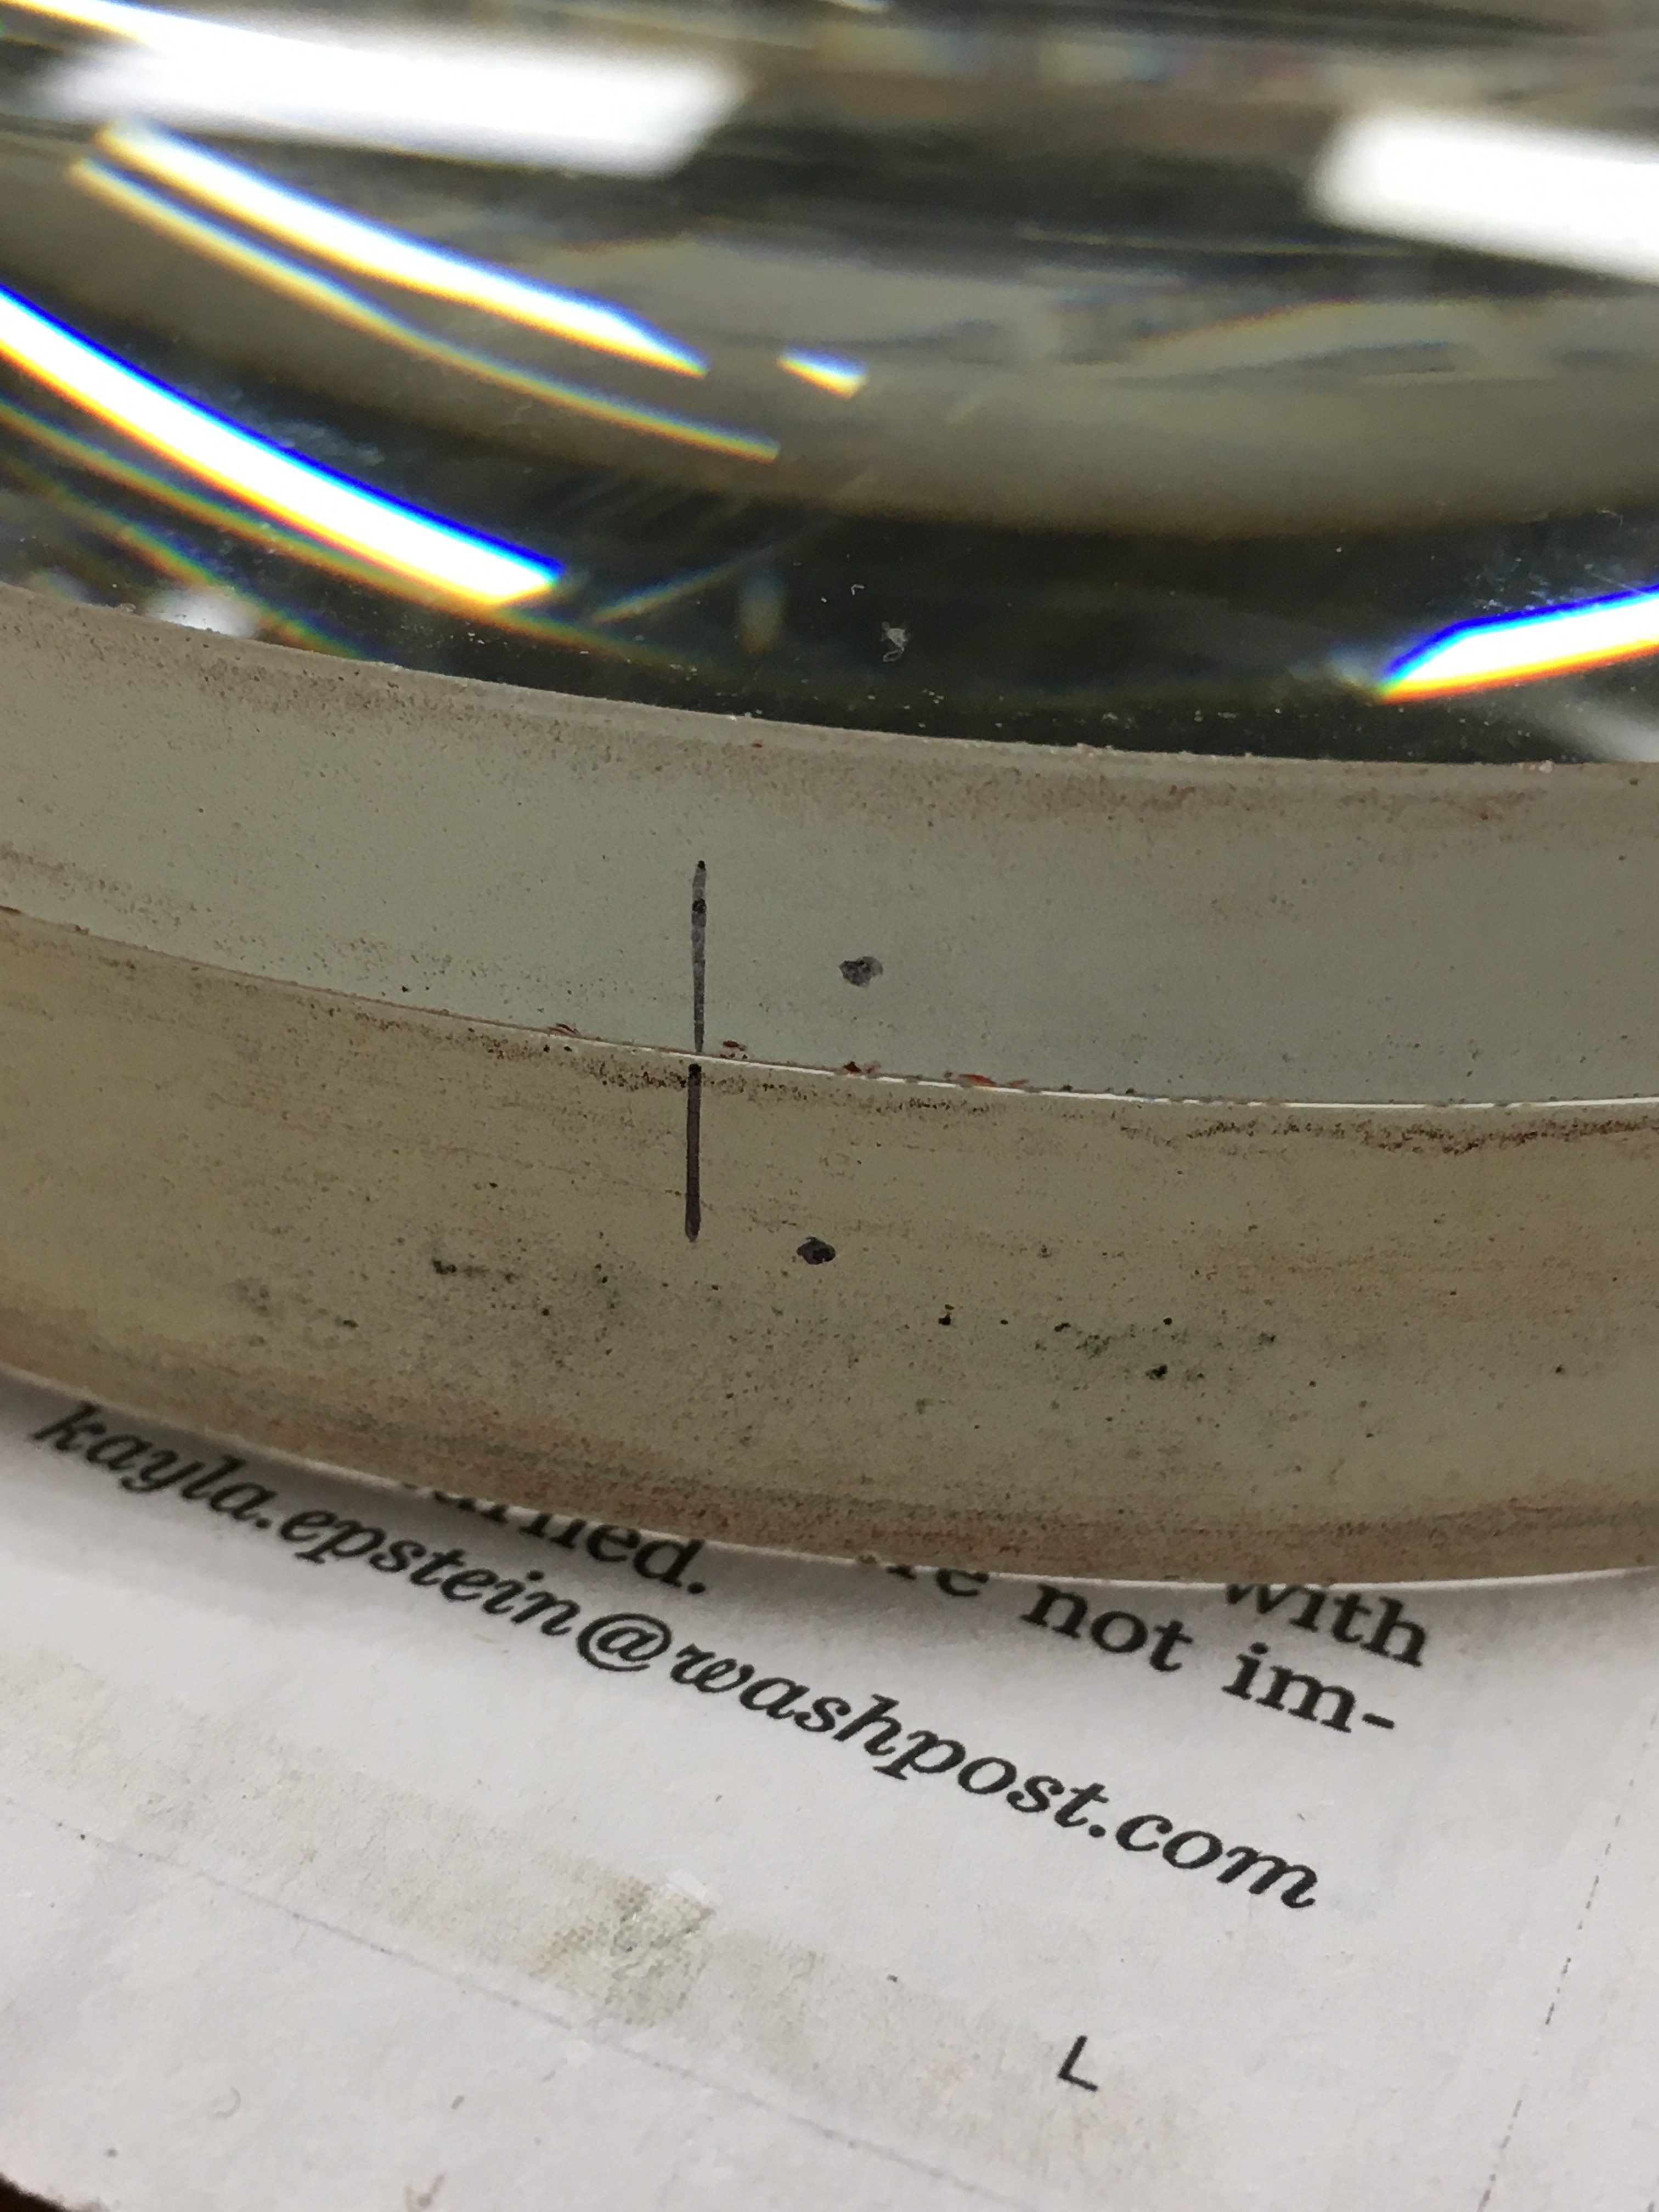
We removed a lot of accumulated green or black grunge on the outside of the tube, but found no identifying markings of any sort anywhere, except for the degrees and such on the setting circles and some very subtle marks on the sides of the lens elements indicating the proper alignment.
The son of the original owner told me that the scope and mount were built a bit over a century ago for the American professional astronomer Carl Kiess. The latter worked mostly on stellar and solar spectra for the National Bureau of Standards, was for many years on the faculty of Georgetown University, and passed away in 1967. A few decades later, his son later donated this scope and mount to National Capital Astronomers (of DC), who were unable to use it. NCA then later sold it to us (Hopewell Observatory), who cleaned and tested it.
The attribution of the mount to Brashear was by Bart Fried of the Antique Telescope Society, who said that quite often Brashear didn’t initial or stamp his products. Looking at known examples of Brashear’s mounts, I think Fried is probably correct. Kiess’s son said he thought that the optics were made by an optician in California, but he didn’t remember any other details. His father got his PhD at UC Berkeley in 1913, and later worked at the Lick Observatory before settling in the DC area. The company that Brashear became doesn’t have any records going back that far.
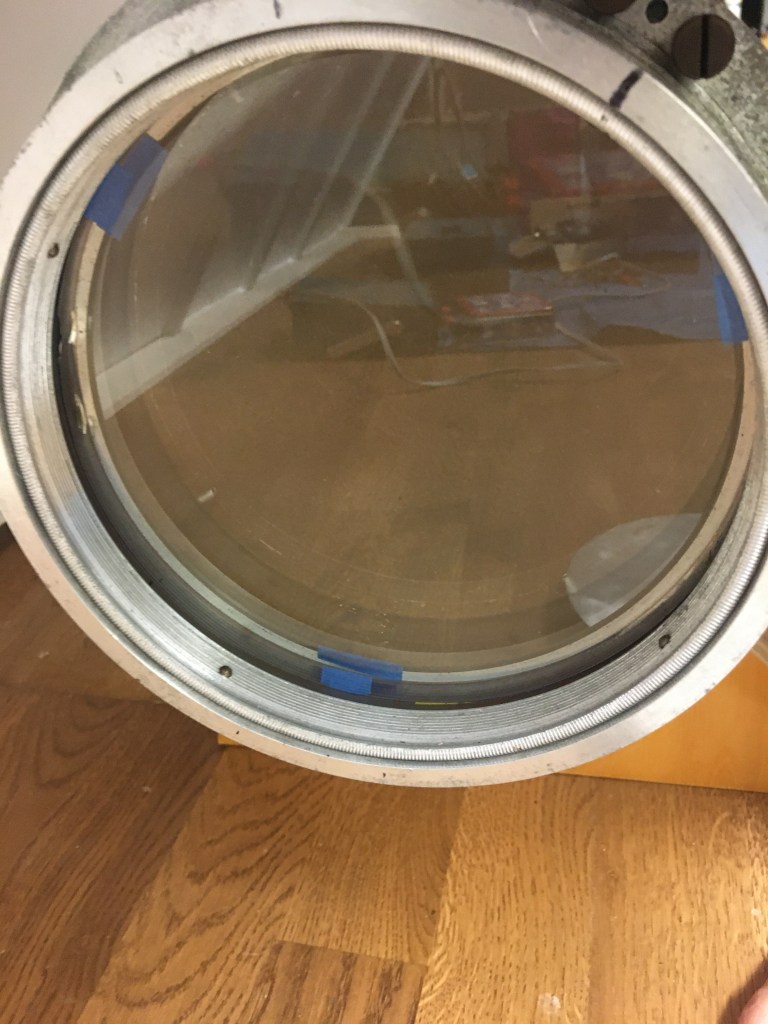
When we first looked through the scope, we thought the views were terrible, which surprised us. However, as we were cleaning the lens cell, someone noticed subtle pencil marks on the edges of the two lens elements, indicating how they were supposed to be aligned with each other. Once we fixed that, and replaced the 8 or so paper tabs with three blue tape tabs, we found it produced very nice views indeed!
The focuser accepts standard 1.25″ eyepieces, and the focuser slides very smoothly (once we got the nasty, flaky corrosion off as delicately as possible and sprayed the metal with several coats of clear polyurethane). The workmanship is beautiful!
Top: tiller for hand control of right ascension. Middle: counterweight bar (machined by me to screw into the mount) with clamps to hold weights in place. Bottom: detail of 1.25″ rack-and-pinion focuser.
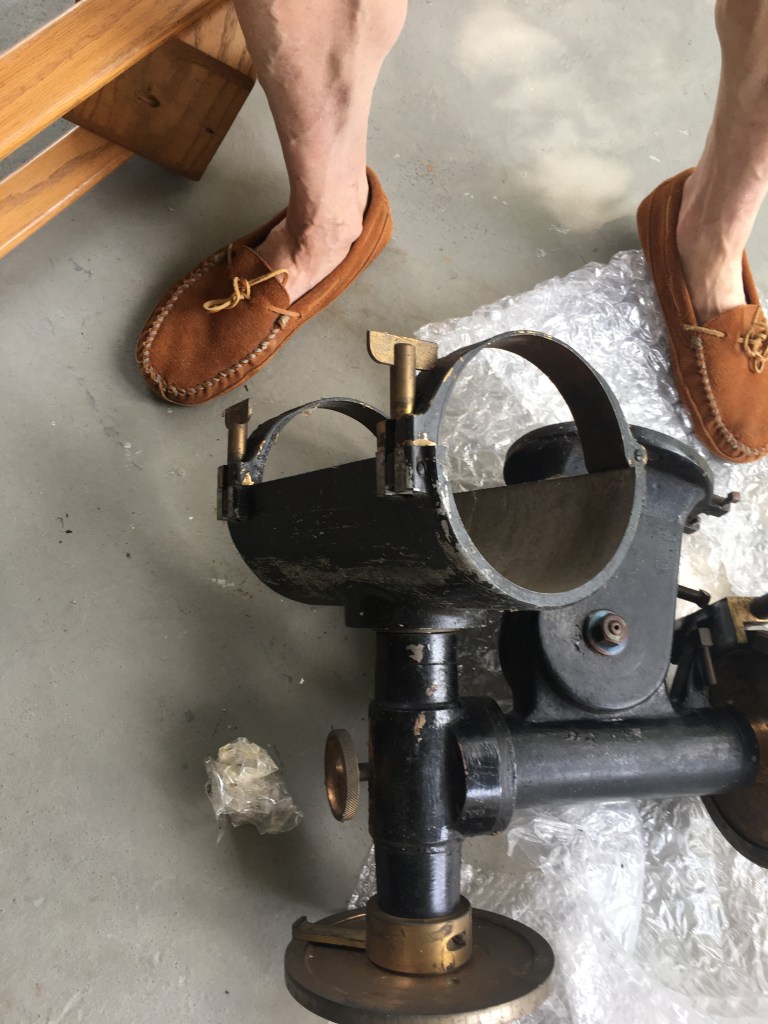
We have not cleaned the mechanical mount, or tried it out, but it does appear to operate: the user turns a miniature boat tiller at the end of a long lever to keep up with the motions of the stars.
The mount and cradle (with size 12 feet for scale)
The counterweight rod was missing, so I machined a replacement, which has weight holder clamps like you see in gymnasiums. Normal Barbell-type weights with 1 inch holes fit well and can be adjusted with the clamps.
Unfortunately, the whole device is rather heavy, and we already own a nice 6″ f/15 refractor made by Jaegers, as well as some Schmidt-Cassegrain telescopes that also have long focal lengths. Putting this scope on its own pedestal, outside our roll-off roof, with adequate protection from both the elements and from vandals, or figuring out a way to mount it and remove it when needed, are efforts that we don’t see as being wise for us.
Did I mention that it’s heavy? The OTA and the mount together weigh roughly 100 pounds.
However, it’s really a beautiful, historic piece with great optics. Perhaps a collector might be interested in putting this in a dome atop their home or in their office? Or perhaps someone might be interested in trading this towards a nice Ritchey Chretien or Corrected Dal-Kirkham telescope of moderate aperture?
Anybody know what might be a fair price for this?
Guy Brandenburg
President
The Hopewell Observatory
Some more photos of the process and to three previous posts on this telescope.
Partway through cleaning the greenish, peeling, grimy layer and old duct tape residue with a fine wire brush at low speed to reveal the beautiful brass OTA.This shows the universal joint that attaches to the ’tiller’ and drives the RA axisDo you see the secret mark, not aligned with anything?Aluminum lens cover and cell before cleaningLens cell and cover, with adjustment screws highlighted, after cleaningIt works!
I found a few things that may have been causing problems:
(1) Whoever put the lens cell together last didn’t pay any attention at all to the little registration marks that the maker had carefully placed on the edges of the lenses, to show how they were supposed to be aligned with each other. I fixed that, as you see in the photo below. The reason this is probably important is that the lenses are probably not completely symmetrical around their central axes, and the maker ‘figured’ (polished away small amounts of glass) them so that if you lined them up the way he planned it, the images would be good; otherwise, they would probably not work well at all and could very well be causing the poor star test images we saw.
2. The previous assembler also put eleven little tape spacers around the edges, between the two pieces of glass. More is apparently not better; experts say you should have three spacers, each 120 degrees apart from the other two. Done.
3. The bottom (or ‘flint’) element is slightly smaller than the other one (the ‘crown’), so it probably shifted sideways. That alone would be enough to mess up the star tests in the way that we saw. So I wrapped two thicknesses of blue painter’s tape around the outside of the flint, and put some three cardboard shims between the edges of the ‘crown’ and the aluminum cell.
4. There were no shims at all between the flint and the aluminum ring that holds it in place underneath. This caused some small scratches on the glass, and might have been warping the glass. I put in three small shims of the same type of blue painter’s tape, lined up with the other spacers.
We will see if these improvements help. I really don’t want to haul this all the way out to Hopewell Observatory and struggle with putting it back on the mount for a star test. That was just way too much work, much more than I expected! The next test will be with an optical flat placed in front of the lenses, and a Ronchi grating.
I would like to thank Bart Fried, Dave Groski, and several other people on the Antique Telescope Society website for their advice.
————————————-
By the way, these photos show how we held the refractor on the mounting plate for the Ealing mount at Hopewell Observatory.
I am disassembling the lens cell of the >100 year old 6” f/14 Kiess refractor that produces horrible results on star tests.
There is absolutely no information inscribed anywhere inside the cell, inside the tube or outside it, nor on the edges of the lens elements. I can only guess as to what type of glass they used, and figuring it out won’t be easy. The least destructive method I can think of beginning to do this is by weighing them and calculating out their precise volumes, and from that calculating their densities. A graduate gemologist could probably calculate their indices of refraction, but not me.
Tomorrow I plan to measure the curvatures of the lens elements; perhaps someone familiar with old telescopes will then have clues as to who might have made this particular type of optical prescription.
The shims seem to me to be intact, so I think I can rule out astigmatism from lens elements put in crooked. [OTOH, someone on the Antique Telescopes Facebook group says that the large number of small black spacers in between the lenses may itself be causing the massive astigmatism problem that we found in the star test. I don’t have enough experience to be able to tell whether that’s correct or not.]
The small chips on the edge of the second (meniscus? Flint?) lens element were already there when I got it. I was also surprised to find that the first (biconvex, crown?) lens element has a small bubble very close to the center. It’s probably not significant, but I will check for strain as well.
Gently tapping off the lens cell from the tube
Note that the retaining ring holding the front of the first lens merely slides into the cell; it’s held in place by four screws. The threading is on the inside of the ring, and the outside is smooth
You can see the black tape and tan cardboard spacers
Me looking puzzled
The cardboard spacers around the edges
The two lenses together; note the multiple, small black tape spacers between the pieces of glass
The original chips on the second lens element
The empty lens cell. Note that they didn’t make it black
Last week, I was helping staff and students at the University of Maryland’s Observatory to clean out a storage trailer.
We noticed a seven-foot-long, 6-inch diameter telescope that had been sitting in a corner there, unused, ever since it was donated to the National Capital Astronomers (NCA) club nearly ten years earlier by the son of the original owner, Carl Kiess, who had worked at the Lick Observatory in California and the National Bureau of Standards in or near DC, but who had passed away nearly fifty years earlier. I figured I could put it on a motorized telescope mount at Hopewell Observatory and at a minimum test the optics to see if they were any good. The current officers and trustees of NCA all said they thought this was a good idea.
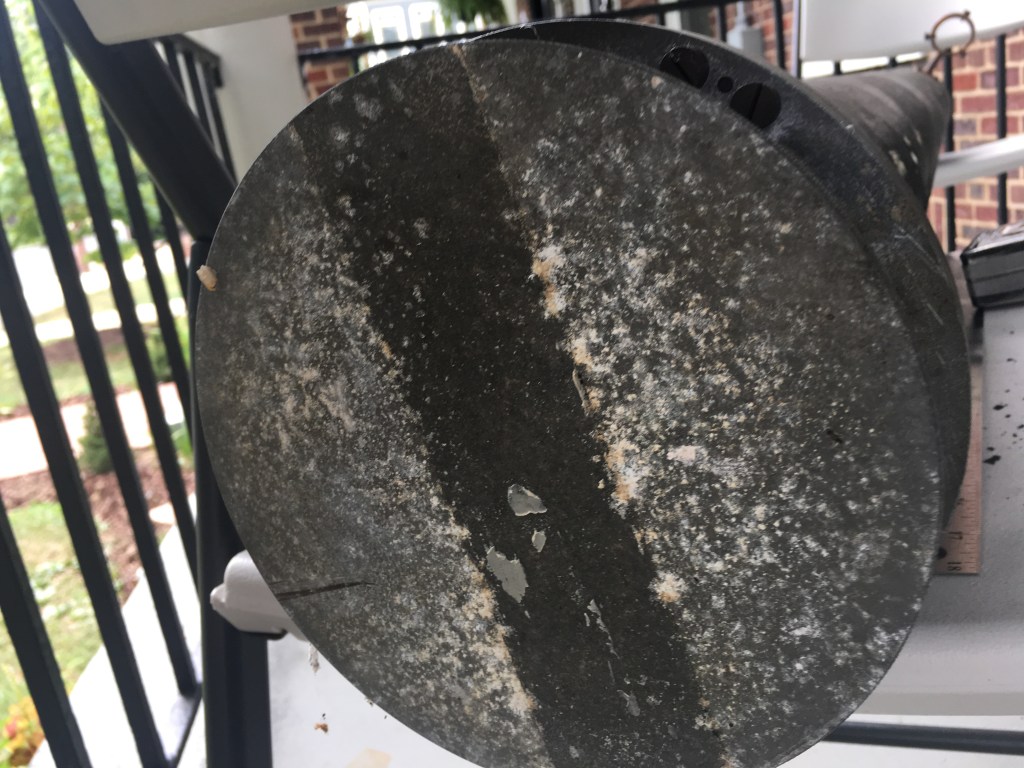
One thing that caught my eye was how filthy and flaky the coating was on the tube itself, although the lens appeared to be in good shape.
The drive, while impressive, does not have a motor, requires a pier, and is extremely heavy. I decided not to mess with the drive and to put it temporarily on our existing, venerable, sturdy, motorized, electronic drive we have at Hopewell Observatory.
So I experimented with various abrasives and solvents to clean off the nasty green coating; a fine wire wheel inserted in an electric drill did the best job. Here it is partly cleaned off:
I then used Brasso for a final polish, followed by a final cleaning with acetone, and then applied several coats of polyurethane to keep it looking shiny for a number of years. (The lenses stayed covered for all of this!) So this is how it looks now:
The next task is to make a temporary holder and then put it on the mount, and then test the optics.